
Elven forest recipe!
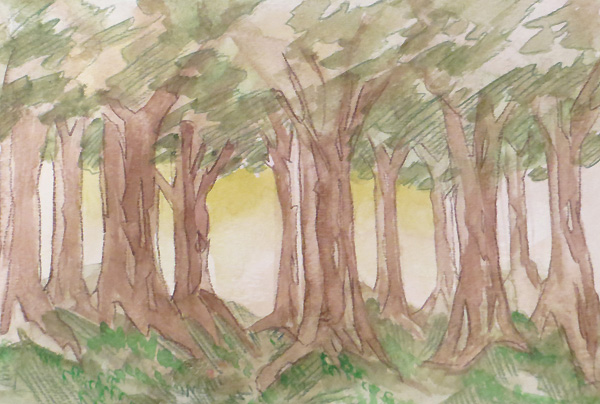
In other tips, I have mentioned finding big shapes when drawing. In this tip, we will be working with big shapes again, but in paint instead!
You will need some supplies: watercolor paper, one big brush, watercolor palette. If you have brown, green and red colored pencils, you could get those out, too. The paper type is especially important because watercolor paper is made to withstand the amount of water you need to work with. It soaks water and color differently from regular paper. The type of paint isn’t important, though. Any type of paint will work.
Watercolors are a wonderful to play with. Though they can be difficult to truly master, they can also be very forgiving because they allow you to play with big shapes which interact wonderfully with one another through the wet paint. You can suggest a lot with fairly little!
One of my favorite painting memories from childhood was when my mother taught me how to paint a forest in watercolors, and I’d like to share that lesson with you.
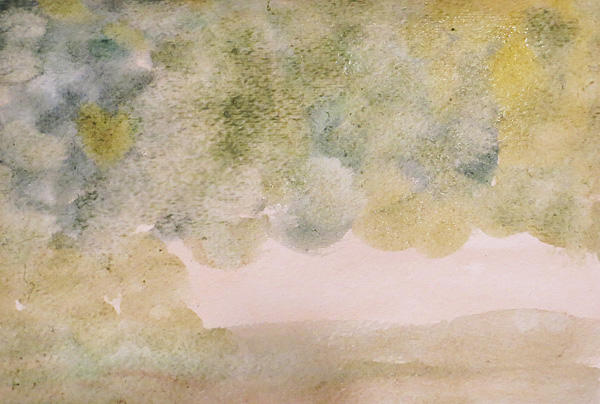
Step one: Cover the back of the paper in water, just paint it over with your big brush and let the water soak into the paper. Painting water on the back of the paper keeps the paper from wrinkling when your begin working with wet paint on the front. Flip your paper over to the side you will be painting on, and cover it in yellow ochre. If you don’t have this color, you can mix yellow and brown, or even replace it with blue instead.

Step two: Now, on the top and bottom of the paper, put down big wet blobs of light green, dark green and green with brown mixed in. Play with the colors and use different shades of green by mixing more yellow, red or blue into your green color. This will make the tree tops and forest floor. When you are done, give the paper a little bit of time to dry, say 5-10 minutes.
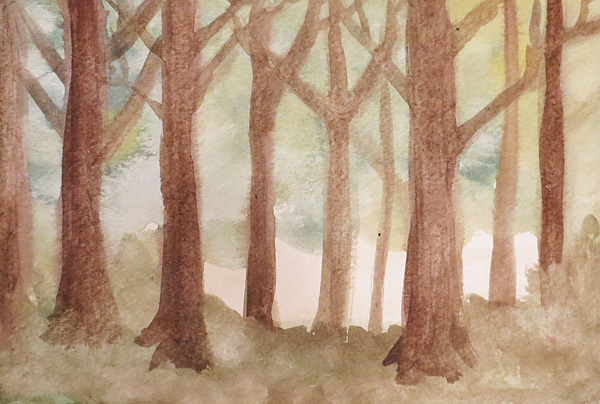
Step three: With a drier brush, fill your brush with a lot of brown paint and paint vertical lines for the tree trunks. Fork them out a lot at the top (branches) and just slightly at the bottom to create roots. Let the paper dry again for a few minutes.
Step four: Now for the fun part – adding in details! Again, don’t load your brush with a lot of water, just a little water and then a lot of paint. Add some grass texture, create some shapes for shrubbery, and red dots make fine mushrooms. Small shapes in the tree tops suggest leaves. If you like, you can also go over the painting with the colored pencils now and create more shapes or add finer details! Be sure the paper is dry before you work with pencils.
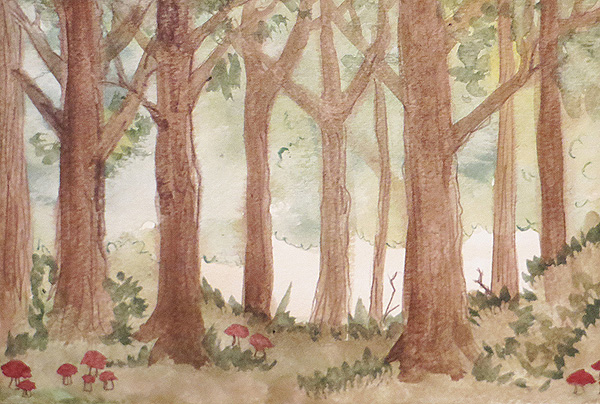
And now you’re done! You have painted a forest very like the ones story elves live in.
—By Valkiri


